ATA adapters are helpful devices which allow legacy technology to communicate with the Flo:One system. This includes, but not limited to Fax machines, traditional analogue phones and alarms. The below guide is a run though of how to configure a Cisco ATA to work on Flo:One.
Finding the details of your Flo:One user #
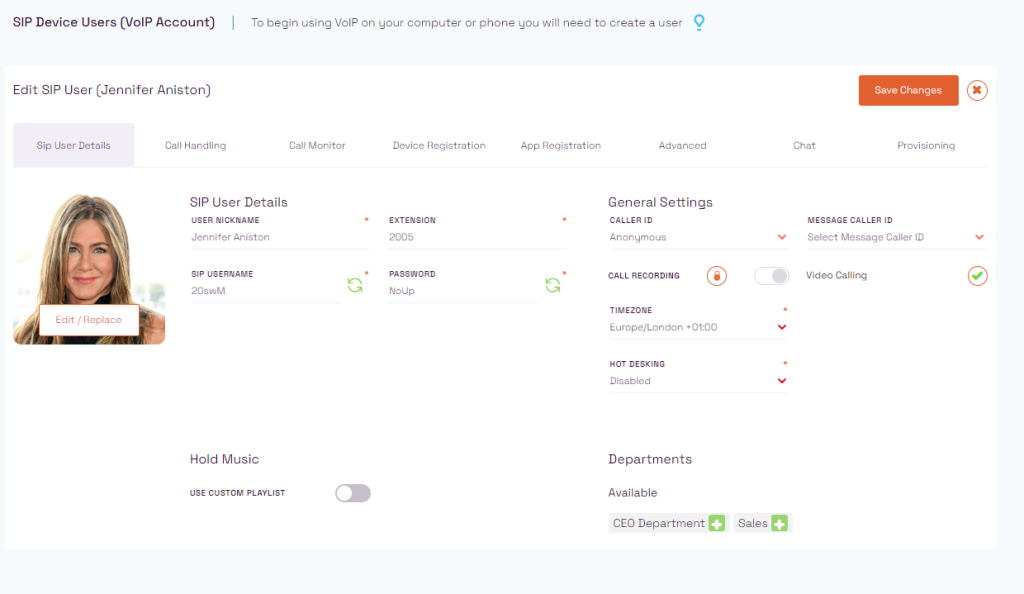
To find your Flo:One user credentials, log into your admin portal.
Next, navigate to Voice > Users

From there, you’ll see the “Domain” (Typically talk.callswitchone.com) and you will see all your users listed. Make a note of the “Username” and “Password” from here.

Alternatively, click on the user and you’ll see “SIP Username” and “Password” listed here too.
Physically connecting the ATA Adapter #
Plug the power cable into a socket and into the device.
If the device is a Cisco 191, connect an ethernet cable from the ethernet socket back to a switch.
If the device is a Cisco 192, connect one ethernet cable from the “Ethernet” socket back to your laptop, and connect a second ethernet cable from the “Network” socket back to a switch.

Logging into the device #
First, you will need to know the IP address of your device. If the device is a Cisco 192, the default IP address will be 192.168.15.1, if you’re using a Cisco 191, you will need to scan your network to establish the IP address (Using software such as IP Scanner).
Next, open up a browser such as Chrome and enter the IP address of the device.
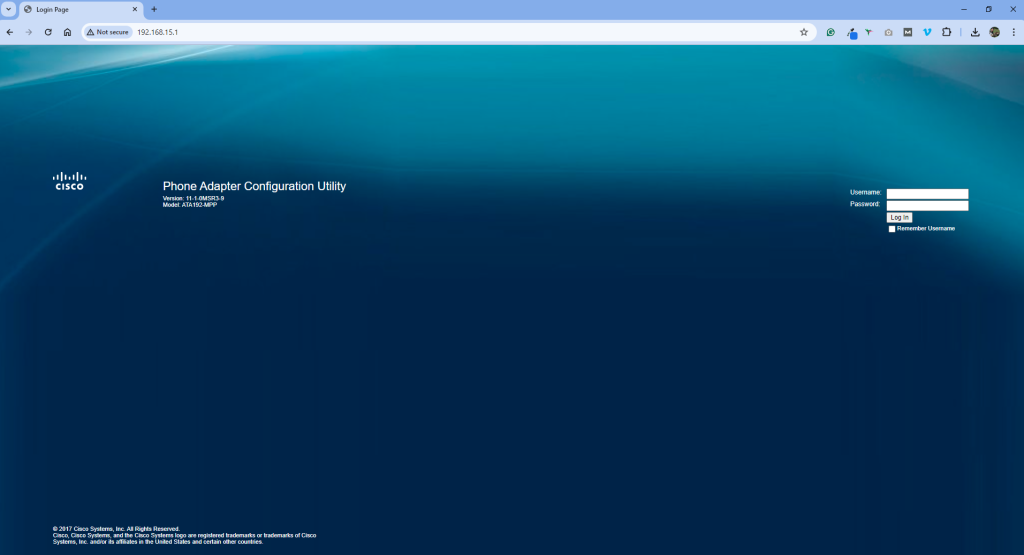
If successful, you will be presented with a login page.
The default details are:
Username: admin
Password: admin
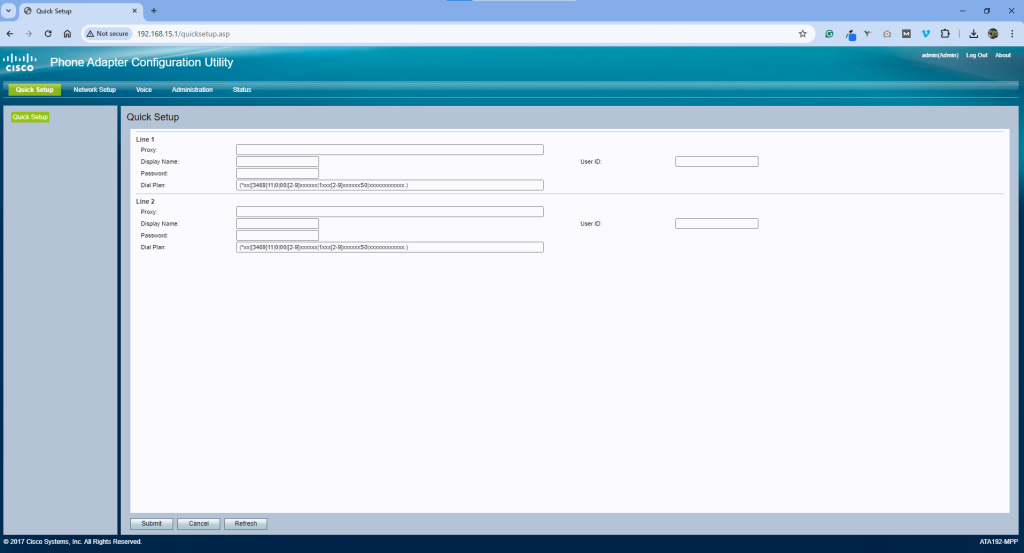
Upon successful login, you’ll be presented with the Quick Setup page.
Updating the default password #
As the device is still under a factory setting, you must update the default password. To do this, click on “Administration” on the top Navigation Bar.
Next select “Management” and “User List” and click on the “Admin” user.

Enter the old password (admin) and enter a new password of your choice.

Configuring the device #
From the “Quick Setup” page, enter the following details under Line 1:
Proxy: (The Flo:One Domain, typically: talk.callswitchone.com )
Display Name: (Name of the User – i.e. Jennifer Aniston)
User ID: (SIP Username from Flo:One Portal)
Password: (Password from Flo:One Portal)
Dial Plan: (*xx|[3469]11|0|00|[2-9]xxxxxx|1xxx[2-9]xxxxxxS0|xxxxxxxxxxxx.)
Click Save and the system will reset.
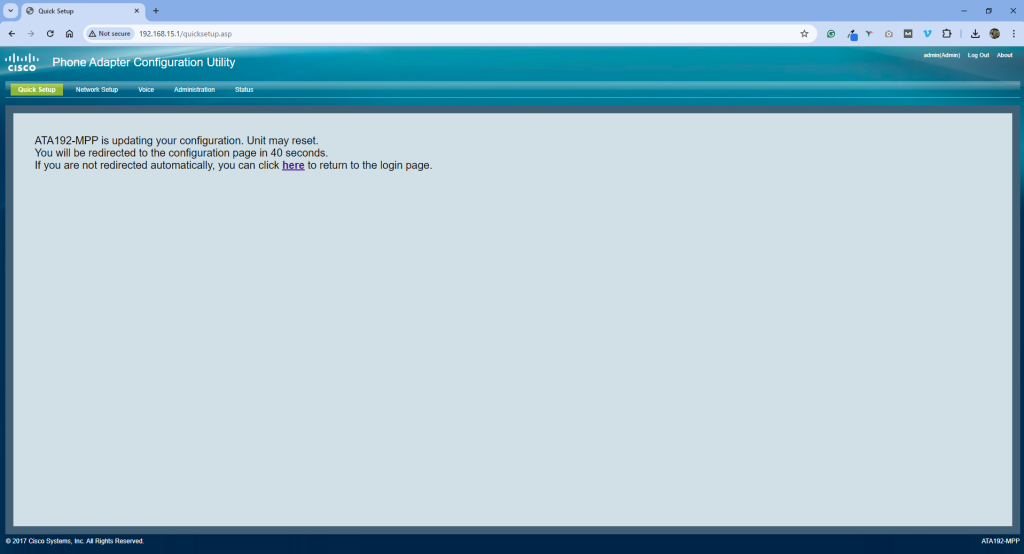
When logging back in, use the new password and click on “Voice” and the “Registration” state should now state “Registered”.
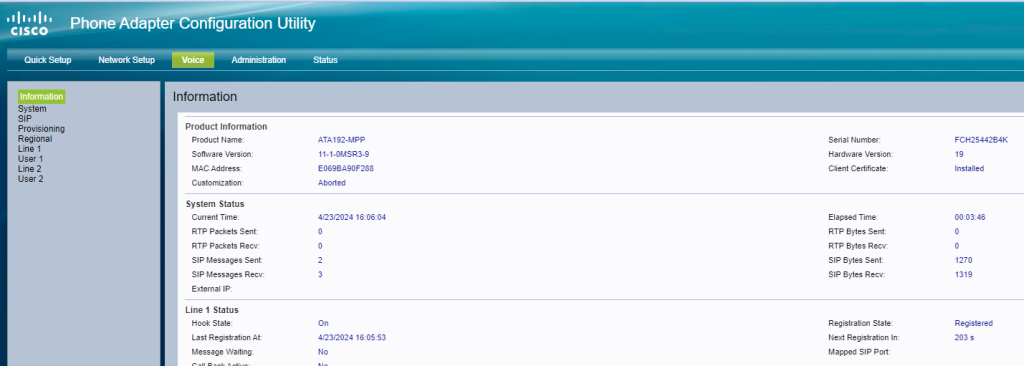
Connect your device to Line 1 and you should now have a dial tone too.
Configuring a device to auto-dial #
Occasionally it’s required to retrofit the device to legacy devices, which may auto-dial pre-configured numbers.
In an ideal world, the legacy system would be updated to accommodate however often this isn’t possible due to issues accessing the legacy system’s programming portals.
A regular use case here is traditional door entry systems, where a number is dialled when you press the ‘Call’ button. When you press the button you’ll be able to see what it dials within the call history of Flo:One. We can then use the dial string to convert this number into a different number – which could be a ring group extension within Flo:One or a totally separate number.
To do this, copy and alter the below dial string accordingly.
(*xx|<841:0123456789>|[3469]11|0|00|[2-9]xxxxxx|1xxx[2-9]xxxxxxS0|xxxxxxxxxxxx.)
You will need to tweak the <841:0123456789> section, where “841” is the number the door entry system is dialling, and 0123456789 is the new number it should be dialling. (I.e. when 841 is dialled, actually dial 0123456789).


