Flo:One Guide for the PulseHD Mobile app #
Welcome to the PulseHD Installation Guide, where we provide a step-by-step walkthrough on setting up PulseHD for both Mobile phones. This guide ensures a smooth setup process, enabling you to leverage the full capabilities of PulseHD efficiently.
Installing and logging into the app #
Download the App #
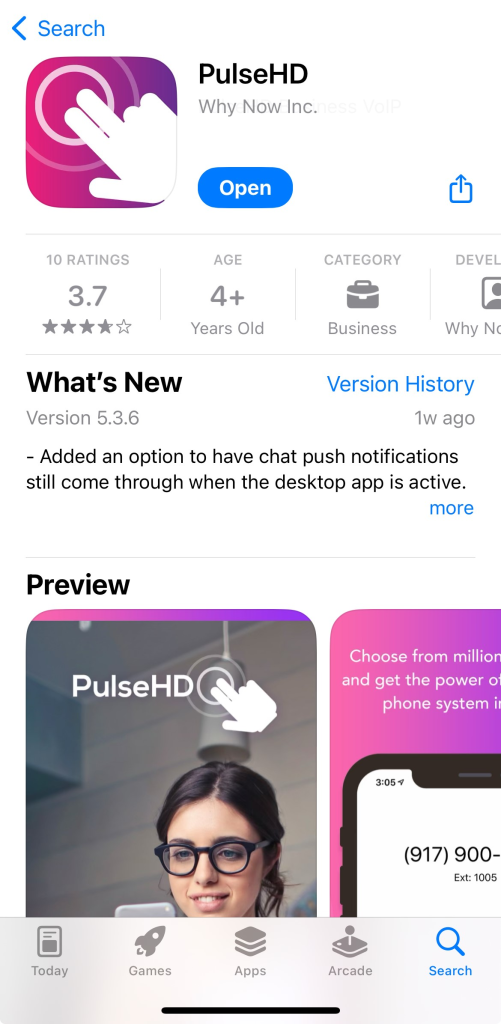
Search for PulseHD in your mobile’s app store and download the application, or go to www.flo-one.io/download and select Android or iOS.

Open the App #
Once installed, tap the PulseHD icon on your device to open it.

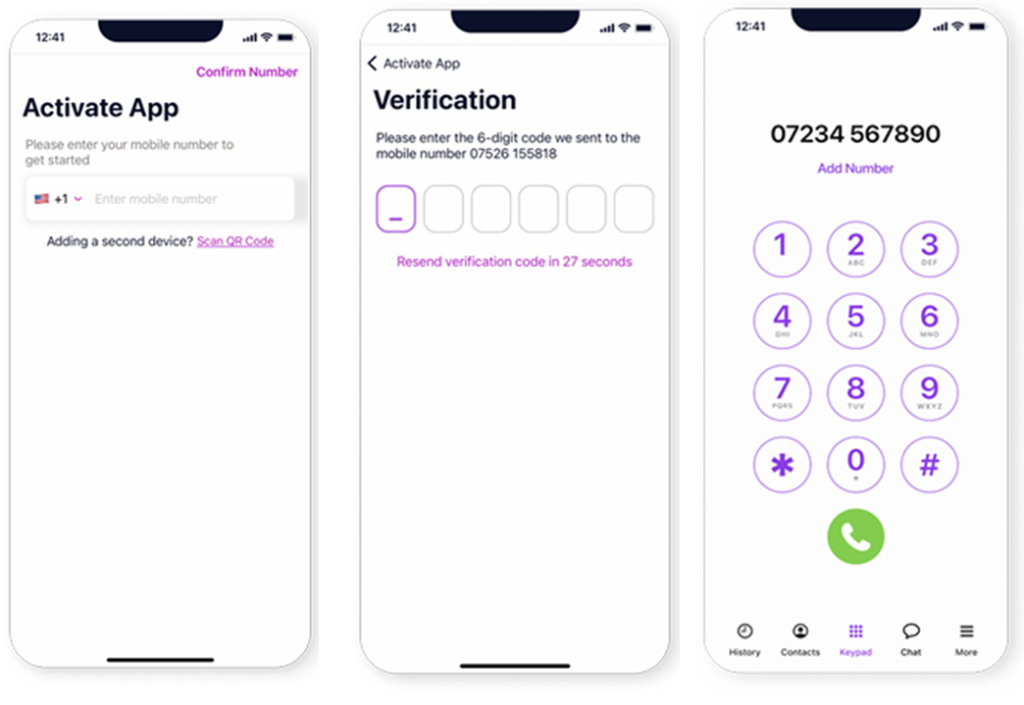
Follow On-Screen Instructions #
The app will guide you through the necessary steps to set it up, including permissions and initial settings.

General navigation #
Keypad & Dialling #
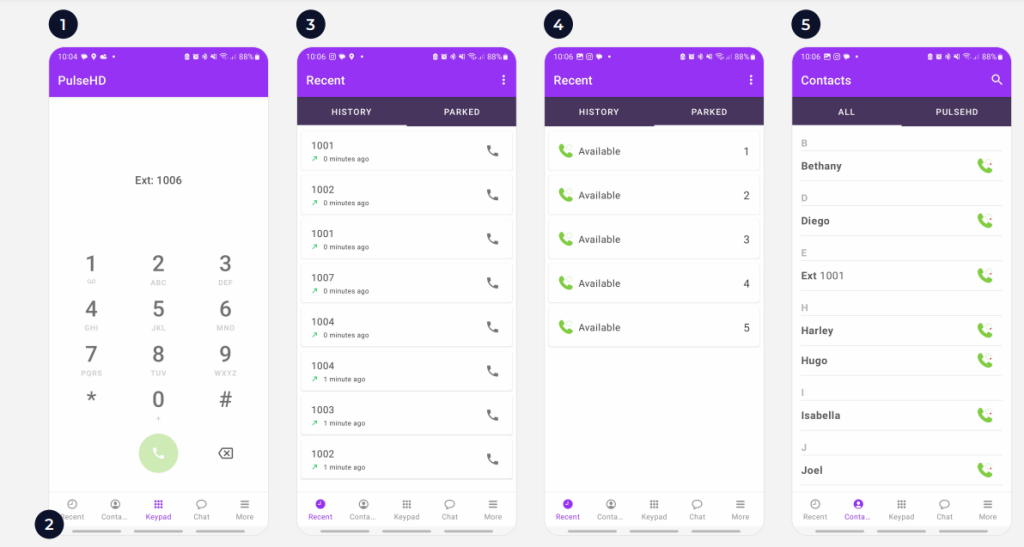
When you open the app, you will be presented with the keypad (1) where you can initiate a call by manually inputting a telephone number and then pressing the green Call button to place a call to that number.
Navigational bar #
You can navigate to different areas of the mobile app using the icons at the bottom of the screen (2). The options available are Recent, Contacts, Keypad, Chat and More.
Call History #
Recent will take you to your Call History (3) which will provide a list of call events which will include calls made, calls received, and calls that have been missed. You can press the Phone iconon the right hand side of the call event to place a call to that person or number.
Call Parking #
Parked calls can be retrieved by pressing the Parked tab (4) in the Recent area and selecting the Orange phone icon next to the parked call.
Contacts #
Pressing Contacts (5) will take you to your contact list. The PulseHD tab will present you with the internal user list for your organisation and you can call another user by pressing the green phone icon next to their name. The All tab will allow you to view and call other users as well as external contacts saved to your device or SIM.


In-call options and Call Transfer #
In Call buttons #
When on a live call (1), you can Mute your microphone, bring up the Keypad for DTMF/short code input,
switch the audio output to Speaker and initiate a second call by pressing Add call. You can also place a live call on Hold or Transfer the call to another user.
Call Transfer #
To transfer an active call, press Transfer to bring up a list of contacts (2), then select the user you wish to transfer the call to or dial an external number using the keypad.
When connected to the destination user/number, you can press Transfer to complete the transfer (3). The Swap button will allow you to switch the active line and place the other line on hold.
Note: Transfers are ‘unattended’ by default, meaning that transfers go directly to your chosen user. To change this to ‘attended’ for a supervised transfer, go to Settings, and edit within Calls section.


Chat & SMS #
Exisiting Chats & SMS #
Select an active chat from the list (1) – SMS chats will be listed here too. To view or continue your chat with a user.
New Chats #
To create a new Group Chat press the “or “New message” icon the top right corner for iOS devices, or the blue chat bubble icon for Android Devices (2) and select Group Chat. You can view all your groups, and any open groups within Groups on the Chat screen.
Once you start a new chat (3) or select an existing one, you can write a message, attach a file, enter emoji’s and record and send voice notes


More & Settings #
Press the “More” button (1) and you’ll see further settings including Do not disturb (DND) archived chats and Settings.
Do Not Disturb / DND #
Do Not Disturb stops calls coming through to you. The main slider is a quick On/Off switch – but press the button “Do Not Disturb” so go to the Do Not Disturb Menu. Here you’ll find a slider to switch between the DND setting being Local (this app only, your other devices will still ring) or Global (all your linked apps will not receive calls).
Settings #
In Settings (3), you will find Account. Here you can update your Status, change your Theme and view how
many inclusive minutes you have left. You can also customise the Call and Chat experience and set
notification preferences in the settings area of the app.
Phonebook set up for mobiles #
Also within Settings, you’ll find “Contacts”. open it to select the company phone books you wish to have access to within the app.
Sign into the PC App using the Mobile app #
You can also Link a Device (like a laptop) by selecting “More” then press the QR code icon in the top-right-hand corner to open your camera and scan the QR code shown (2) after you open the PulseHD Desktop App or navigate to pulsehd.app on your browser.


